
Full Stack Web Development with Flask - A Tutorial
In this blog post, we will create a simple message bank web app with Flask.
Our message bank should achieve three things: a main page, a submit function, and a view random message function.
Let’s first create the back bone of our message bank with Flask. To do this, create a “app.py” file and run Flask in cmd. In our “app.py” file, we should have these code below.
from flask import Flask, render_template, request, redirect, url_for, abort, g
import io
import base64

app = Flask(__name__)
#decorator
@app.route('/')
def main():
    return render_template('main.html')
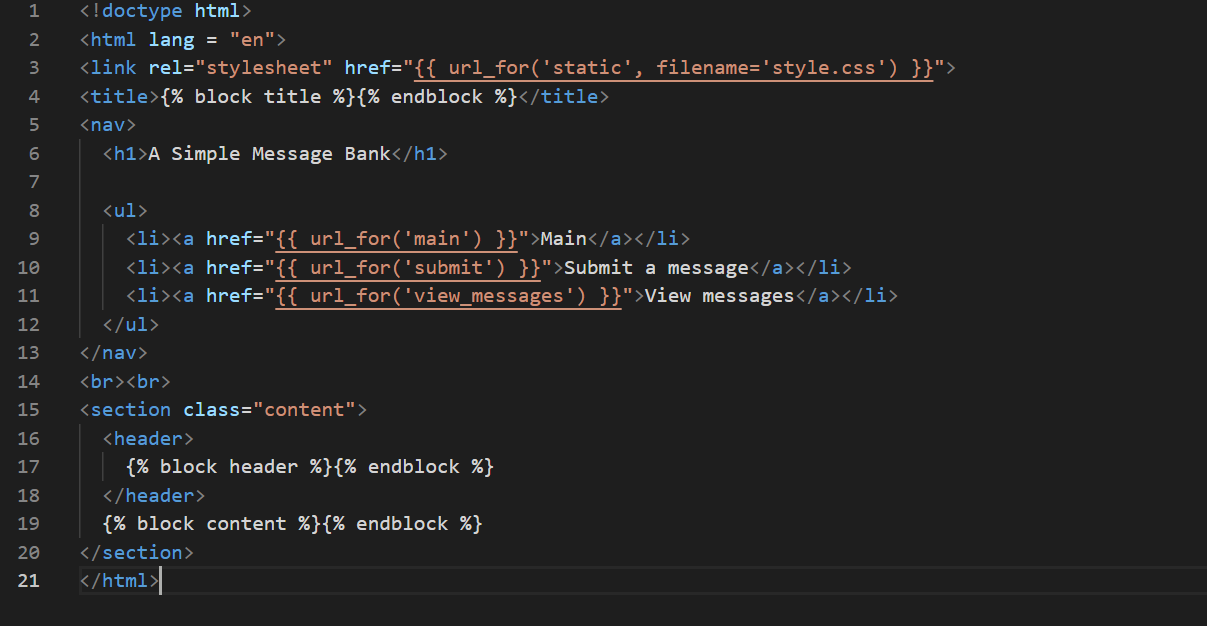
The above instructions tell Flask to render the “main.html” file on our main page, which we will create next. Before that, we will have to create a “base.html”, which will allow us to keep a consistent format throughout our web app.
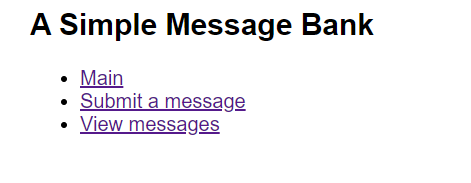
This is what “base.html” gives us. Pretty neat.
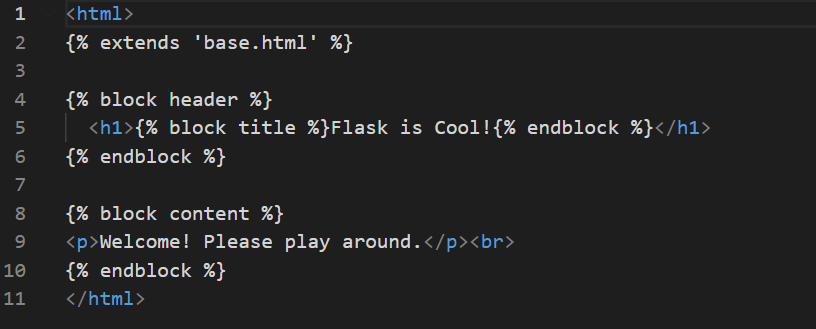
Next, we will implement our main page by extending our “base.html” file. This way our web app will have a consistent theme throughout. These html code will create a welcome message on our main page.
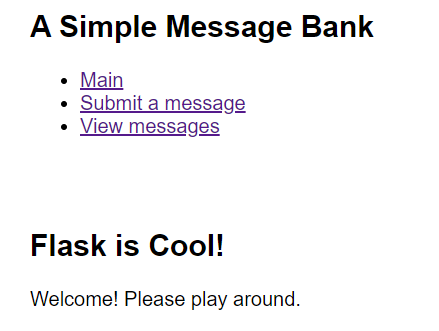
With the html code ready, our “app.py” can successfully render our main page. Here is what it looks like.
Similarly, we can implement the two other pages, submit and view messages, with the following code.
@app.route('/submit/', methods=['POST', 'GET'])
def submit():
    """
    Renders the submit page, and depending on the status of the submission, renders the corresponding template
    """
    if request.method == 'GET':
        return render_template('submit.html')
    else:
        # if the user submits the form
        try:
            web_helper.insert_message(request)
            return render_template('submit.html', thanks=True)
        except:
            return render_template('submit.html', error=True)
The following function handles the view message page.
@app.route('/view_messages/', methods=['POST', 'GET'])
def view_messages():
    """
    Renders the view message page
    """
    if request.method == 'GET':
        return render_template('view.html')
    else:
        try:
            out = web_helper.random_messages(request.form["number"]) # a format html script in string form
            return render_template('view.html', output = out)
        except:
            return render_template('view.html', error = True)
Now that we have taken care of the structure of our website, we can move on to the behind-the-scenes. We will need some place to store our messages, a data base! We will be using the sqlite3 library. This function creates a data base if none exists and returns the data base.
def get_message_db():
    """
    creates a data base if none exists, returns the desired data base
    """
    try:
        return g.message_db
    except:
        g.message_db = sqlite3.connect("messages_db.sqlite")
        cmd = """
            CREATE TABLE IF NOT EXISTS message_table(
            id INTEGER,
            handle TEXT,
            message TEXT
            )
            """
        cursor = g.message_db.cursor()
        cursor.execute(cmd)
    return g.message_db
This function inserts the message into our data base.
def insert_message(request):
    """
    pushes the new message into our data base
    """
    name = request.form["name"]
    message = request.form["message"]

    #opens a connection to data base
    conn = get_message_db()
    cur = conn.cursor()


    cmd = "SELECT COUNT(*) FROM message_table"
    cur.execute(cmd)
    id = cur.fetchone()[0] + 1

    cmd2 = """
        INSERT INTO message_table
        (id, handle, message)
        VALUES
        (?, ?, ?)
        """
    data = (id, name, message)
    cur.execute(cmd2, data)

    #commits the change
    conn.commit()
    #closes the connection
    conn.close()
Next, we will write a function to retrieve the user desired number of messages from our data base.
def random_messages(n):
    """
    randomly retrieves n messages from our data base, if not enough is stored, returns all current messages
    """

    #opens a connection to data base
    conn = get_message_db()
    cur = conn.cursor()

    length_cmd = "SELECT COUNT(*) FROM message_table"
    cur.execute(length_cmd)
    num_len = cur.fetchone()[0]

    res = ""

    if (int(n) > num_len):
        res = ("We currently do not have enough messages. We can only show you this many.")
        n = str(num_len)

    cmd = "SELECT * FROM message_table ORDER BY RANDOM() LIMIT " + n

    for row in cursor_obj.execute(cmd):
        res += row[2] + "<br>" + "- " + row[1] + "<br><br>"

    #closes the connection
    conn.close()
    return res
Now we have built everything to allow our web app to function, but it looks boring, as shown in the screen caps above. We can use CSS files to add some flare to our web app. We will add the following line to our “base.html”.
<link rel="stylesheet" href="">
In our css files, we can add fonts, styling, background color and so much more to our website. Here’s how we do it in our “style.css” file. Let’s have a clean background color and Helvetica font for our texts.
html {
    background-color: #EEEEEE;
    height: auto;
    display: block;
    margin: auto;
    width: 85%;
    text-align: center;
    font-family:Helvetica, Arial, sans-serif;
}
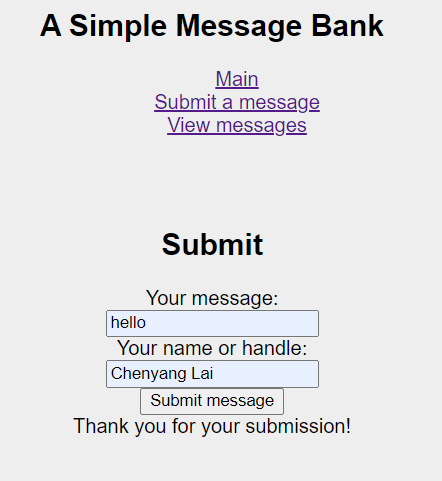
Here is the resulting page.

Now all we need to do is to publish our web app online so other people can play with it. We will be using a service called Heroku. Here is a tutorial. https://devcenter.heroku.com/articles/getting-started-with-python
This is it for our simple tutorial for Flask. With these skills we can build more complex web apps that run on python. Here is the code for my message bank. https://github.com/justinlaicy926/Flask-Tutorial Have fun coding!